

Our new Stealth Strategy game Shadow Gambit: The Cursed Crew is now available on PC (Steam, GOG, Epic Games Store), PlayStation 5 and Xbox Series.
Get your Steam key in our official key store if you want to support us directly: https://shadowgambit.com/store
In this blog post, we’ve collected eight helpful beginner tips and essential strategies for you to successfully defy the Inquisition in your quest to find Captain Mordechai’s mysterious treasure.
Pay attention to the enemies’ viewcones
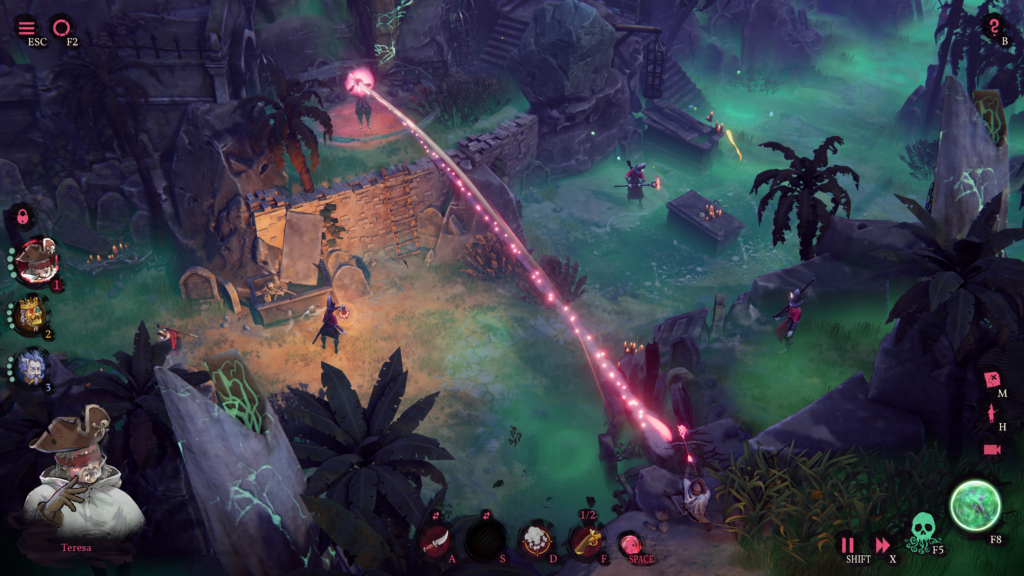
The first of our beginner tips is to use a key feature to its full potential. Shadow Gambit: The Cursed Crew is centered around stealth and the viewcones are an important indicator telling you whether it is safe to pass through a certain area. Make sure to turn them on by selecting a specific guard or spot to see the viewcones watching the area! How the detection works in-game is best explained by looking at viewcones by night when they have a fully colored and a striped part.
You can pass safely through the striped area while moving crouched. During the day this won’t happen since their visibility is a lot better in general. You need objects to hide behind or move to higher terrain to use the striped areas to your advantage.
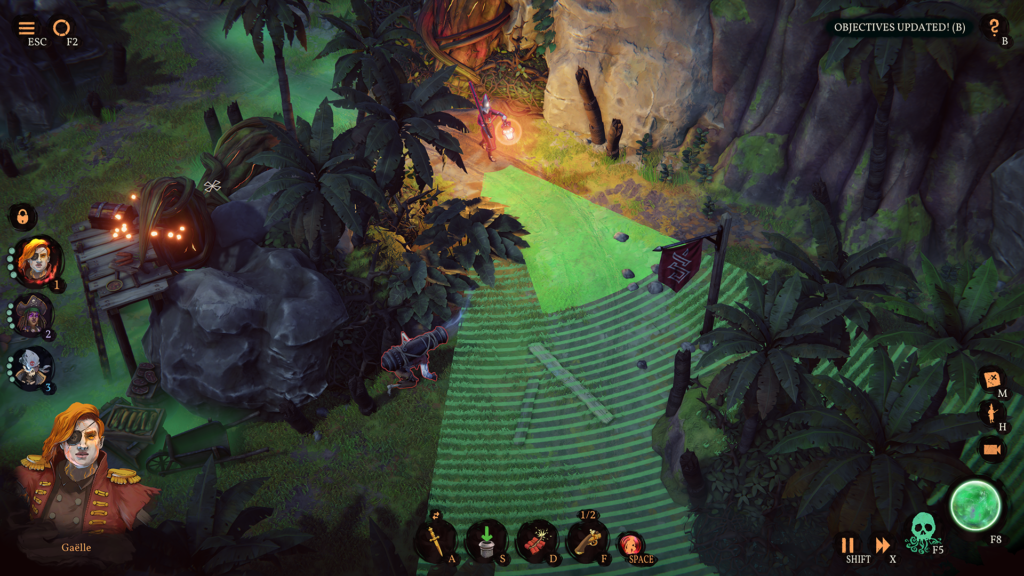
Be aware of light sources as these will reveal your crewmates when hiding in darkness. Especially moving light sources, carried by guards, put you at risk of being revealed in an area that was safe before. If guards see a crewmate their viewcone will quickly turn yellow (originating from the enemy who spotted you) and finally red once it reaches the crewmate.
Once detected the guard will attack or even call for reinforcements by raising alarm. How fast the enemies detect you also depends on the difficulty setting you’ve chosen.
The most important skills don’t necessarily kill
Pay attention to the skills of your crew members before adding them to your cursed crew or choosing them for your team when heading off for the next mission.
Some can swim or climb, while others cannot. Some crouch while dragging bodies and stay out of sight this way. Others will stand up and are prone to be spotted more easily.
Those abilities are referred to as “passive” in-game, displayed for example in the character description sheets when you look to revive a new crew member or as part of the tooltips for each character. Each crew member brings a set of skills with them – for example a melee kill or knockout and an unique ability like Afia’s short distance blink allowing her to jump instantly to a guard and kill them with her magic saber.
Why distractionS Are so powerful
But the most important abilities are the distraction skills because they allow you to break open difficult setups of guards with their interlocked viewcones, opening windows of opportunity for moving your crewmates and executing fatal strikes.
It’s one of the most valuable group of skills at your service. And it often makes a lot of sense to pick a crewmate for a mission based on their distraction skill alone – such as Afia’s “Time Freeze” or Mr. Mercury’s “Sir Reginald”.
Among distraction skills there’s a sub-group of abilities that not only distracts, but makes guards leave their post for a while – at least the simple guards called Acolytes. Suleidy’s “Wander Dust” for example makes guards walk away in a straight line from your position.
Later on, this skill can be upgraded to a reverse version that pulls guards towards Suleidy. The distraction skills that move guards are outstandingly powerful and valuable. They define a character archetype called “Position Changer”. It’s the only archetype that we explicitly mark as “one per team recommended”. So you better take at least one crewmate with this skill with you!
Watch our Launch Trailer to see the abilities working together in action:
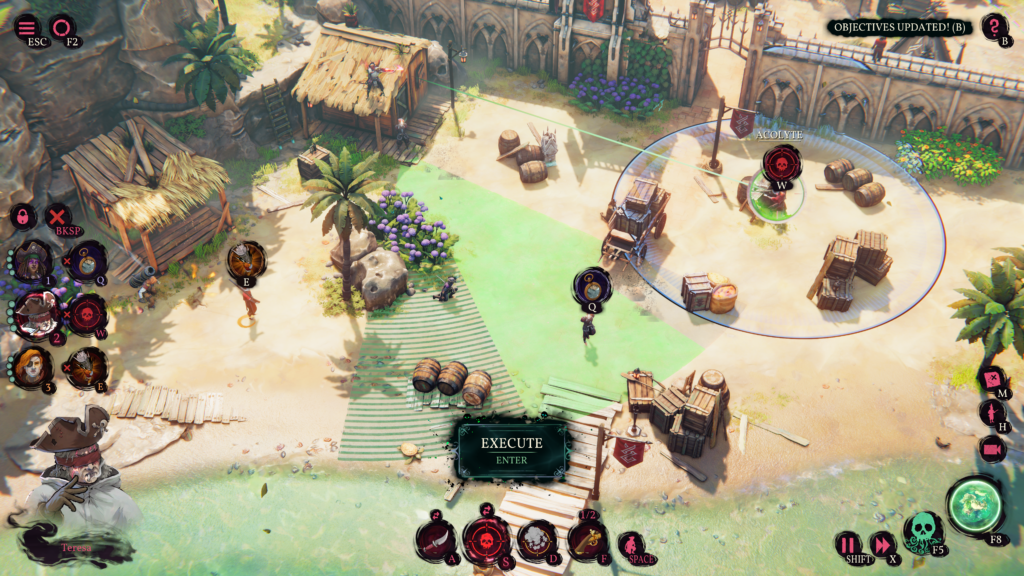
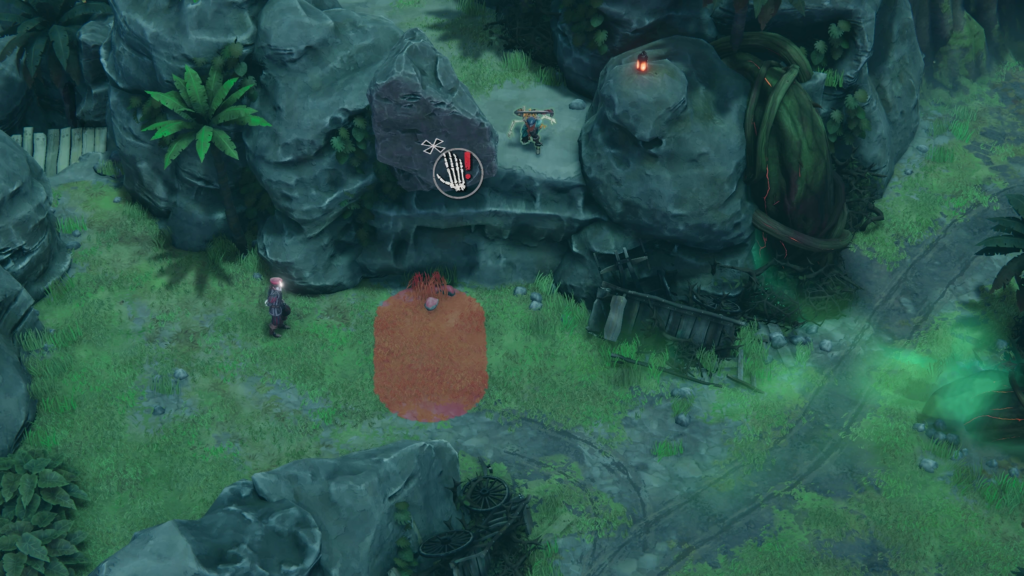
Make (complex) enemy setups easier
The goal with even the smallest setup of guards is to reduce them back to (almost) zero. The most effective strategies are all about the gradual simplification of setups, so that you can either sneak through the area safely or take out each and every guard to make an area completely safe to pass through.
Setups can be as simple as only two guards looking at each other, but this strategy will apply nonetheless. Sometimes their viewcones are moving, but quite often they will just stare at each other with static viewcones while talking. For example, with an Acolyte facing a Commissarius, you could use a distraction skill or position mover to lure the Acolyte away from the Commissarius’ viewcone’s reach to take them out unnoticed.
Remember to look up too
Distract guards, isolate them and take out guards one by one to reduce the whole setup. It’s also highly recommended to start with the back row and slowly work yourself towards the center.
Watch out for ladders and ivies to get to higher grounds where guards could be overlooking the area from. Even very dangerous enemies like the Ludex could be waiting there, posing a huge threat with their long-ranged viewcones and crossbows ready to take you out. So, it’s great advice to take your time to analyze the setup before you start taking out guards.
Use the environment to your advantage
To make sure no alarm is raised, you should clean up after yourself and get rid of the guards lying around. They can be hidden well in bushes, thrown into in the water or stashed behind closed doors of shacks and buildings. If no hiding spot is available nearby, you can use Suleidy’s “Cover Seeds” to hide bodies almost instantly and from afar.
Or take Quentin on the mission, who is able to dispose of bodies from afar with his “Treasure Rod” and chest on his back. That being said, you can also use the bodies lying around as a very powerful but risky distraction – and thus well to your advantage.
But of course, there are even more ways to use the environment around you.
Naturally, hiding spots like bushes or buildings provide cover and help you to sneak around guards. You can also stay behind corners or huge obstacles to make sure the enemies’ viewcones are blocked. But there are also objects that you can directly interact with. You can miss them easily – so make sure to pay close attention to the environment around you.
Convenient traps might help you to dispose of patrols or whole groups of guards that either stand or walk right under towering rocks and hanging crates. Push or trigger these at the right time and things become much easier.
Highlight your surroundings
Speaking about paying attention to your environment – here’s a nifty feature to remember: With just a simple button press, you can highlight enemies and intriguing objects.
This highlight feature isn’t just a fleeting thing. You can activate it permanently if you like. That means enemies and objects get an easy-to-see outline that sets them apart from the rest of the game world.
It’s super handy because it helps you spot new environmental traps or even guard you might have missed before. Whether you prefer to play with everything highlighted all the time or just take a peek every now and then, the choice is yours!
But we have even more beginner tips for you …
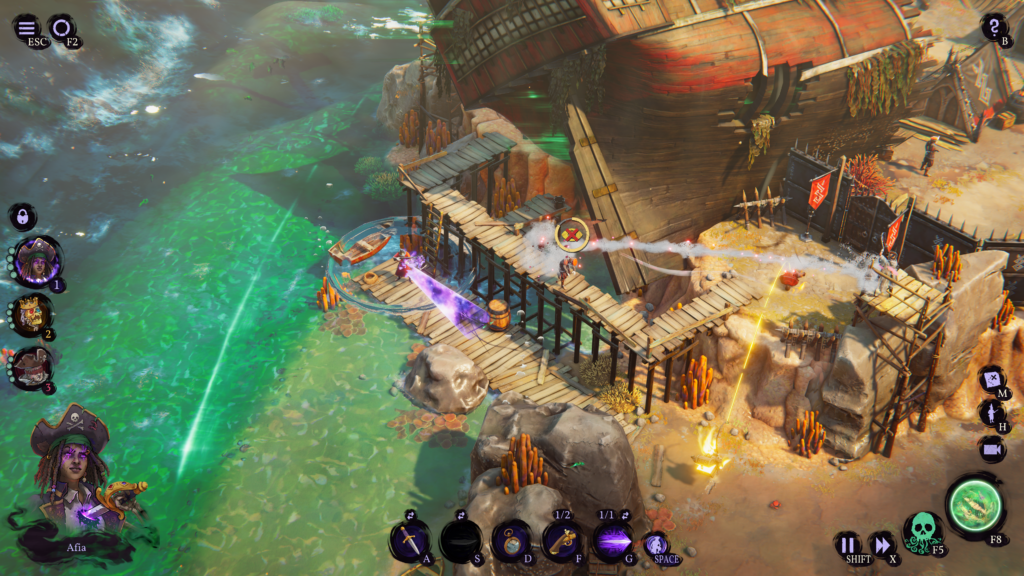
Synchronize your crew’s powers
Imagine a situation where you need to take down several guards, who all are in view of each other, at the same time. That’s when teamwork really shines.
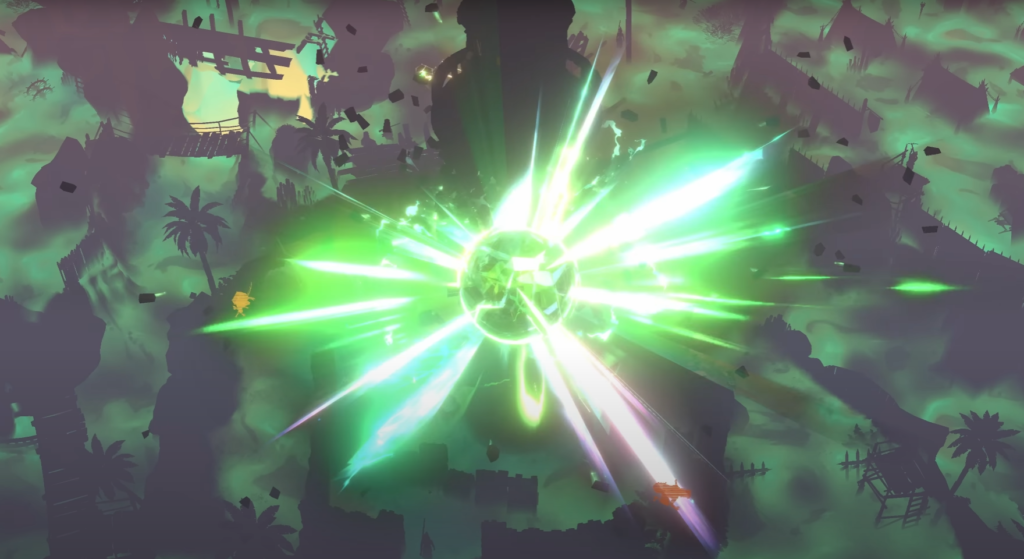
In Shadow Gambit: The Cursed Crew, you don’t have bombs that would hit lots of enemies at once. Instead, making your crew members work together is the secret sauce. You’ll need to plan and work together with your crew mates to pull off a synchronized takedown.
Here’s where the Shadow Mode feature steps in to help you. It’s like a game plan / strategy mode that lets you pause time and think about you next moves. It’s the perfect way to get a all your crew members’ skills synchronized without needing super-fast fingers on the keyboard or gamepad.
How Shadow Mode makes you faster by pausing the game
Now, don’t be fooled by the name – Shadow Mode lets you pause the game but actually helps you act faster in crucial moments. It’s a bit paradoxical, but it lets you make quick decisions when timing is everything. For instance, when guards are agitated, when the cooldowns of your skills become a problem and every second counts.
But the real magic happens when you use Shadow Mode to have your cursed crew work as a team. Once you activate Shadow Mode you can assign a specific skill or action to each crew mate for a particular guard. Then, you save these actions and hit a button to execute them all at the exact same moment.
You can get a cinematic glimpse at how it feels pulling of a successful Shadow Mode maneuver in our Cinematic Reveal Trailer.
The further you come the more important Shadow Mode will be
You can do execute all the skills at once while still in Shadow Mode or later whenever you’re ready. Plus, you can mix in your own actions too. Maybe you’ll have some crewmates causing distractions while you control another crewmate to do something sneaky.
As you progress through the game, you’ll face trickier situations where using Shadow Mode to coordinate your crew’s special abilities becomes super important. It gets more challenging and time-critical, but that’s what makes it interesting. Whenever you’re playing the game, remember that it is all about the step-by-step strategy of distracting, isolating, and reducing the Inquisition guards and using Shadow Mode to pause and put your plans into action.
“Failing” is part of the fun
Don’t be scared to make a mistake or mess something up when playing Shadow Gambit: The Cursed Crew.
Experimenting with different strategies and discovering what works or what playstyle you like the most is a key part of the game experience. So don’t hesitate to try different character combinations, a more risky path towards your mission objective or a certain skill synergie.
You will figure out the tactics that suit you best like that and come up with your own unique solution to each challenge.
You don’t have to worry about losing any progress while doing this. The Red Marley gives you the incredible time-bending ability to capture memories whenever you want. You’re able to turn back time and revisit previous memorie that you captured instanteeniously if things don’t go as planned.
Make sure to use this feature regularly! Sometimes, the Red Marley itself will give you a gentle nudge by showing a subtle ghost bell, hinting that it’s a great moment to save your progress.
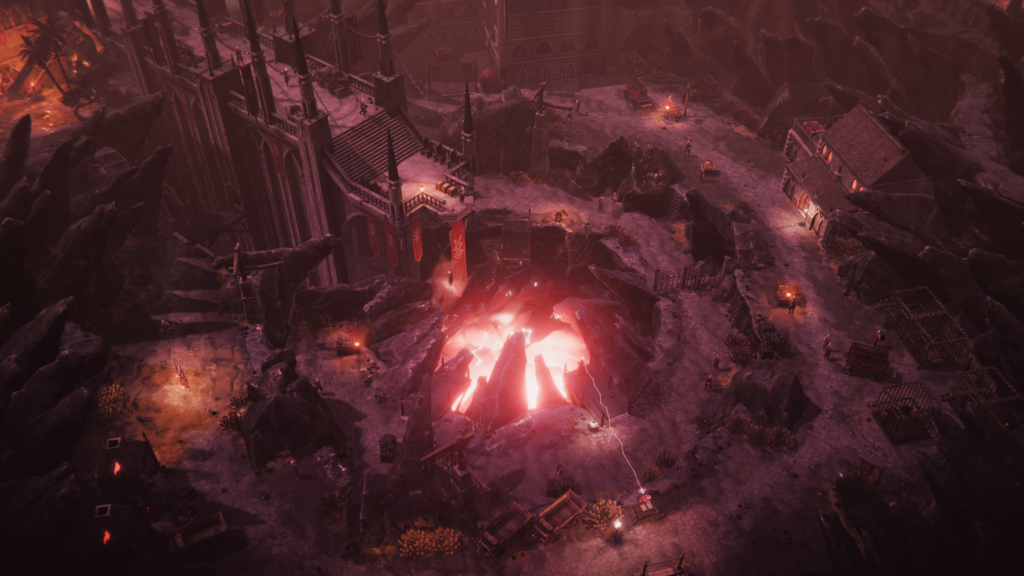
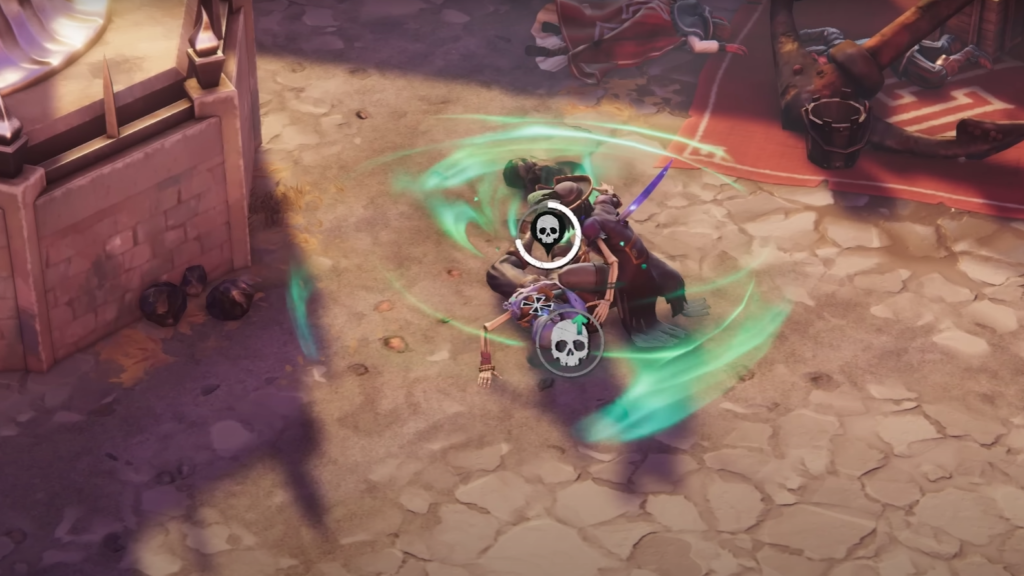
Death is not the end
Unlike the characters in our previous game Desperados III, the characters in Shadow Gambit: The Cursed Crew have already “met their end”. As Afia remarks in the intro mission: “Death is not the end here”.
This interesting twist makes it a bit trickier to send your cursed crew off to the afterlife permanently. If one of your characters gets taken down, you’ve got a window of opportunity to bring them back to the land of the (un-)living within a certain time frame.
Now, even if you miss this revival window, don’t fret. Instead, the character will make their way back to your trusty ship for a revival. But here’s the catch: they won’t be able to rejoin the ongoing mission. So if you go for a risky play you have to make sure you actually can make the time window and revive the character if you want to keep playing with them.
Or you will have to face the challenge of finishing the mission with less characters available. Keep in mind – if an essential character dies the mission will fail, so make sure not to put the wrong crew members at risk of dying.
Should you need a quick overview of everything new in Shadow Gambit: The Cursed Crew, you can continue with our article and video about new features our pirate stealth strategy game introduced to the genre.
Get the Artbook & Strategy Guide
If your cursed pirate soul aches for even more guidance and detailed tips and strategies, make sure to dive into our Artbook & Strategy Guide (only available on PC) for Shadow Gambit: The Cursed Crew.
Inside, you’ll find valuable insights covering everything from an overview of the characters and their skills to essential strategies on how to defy the Inquisition, a comprehensive missions and islands walkthrough, and more.
Where to buy it
You can grab the Artbook & Strategy Guide as part of the Supporter Edition for PC or get it separately*. It’s a treasure trove of knowledge to enhance your gaming experience!
Get the Supporter Edition and Artbook & Strategy Guide (Steam key) in our own official key store: https://shadowgambit.com/store*
Alternatively, you can purchase it in the store of your choice:
*To purchase and activate the Artbook & Strategy Guide on Steam, the Epic Games Store or our own key store you will also need the base game. You can buy the Artbook & Strategy Guide as a standalone version on GOG.